Thursday, October 16, 2014

Two Fall Monetas

I was gung-ho to start the Jean-ius course on Craftsy but hit a roadblock when I discovered I needed silk organza.  I'll have to order some so in the meantime I made two Monetas for fall.  A couple of years ago I saw a picture in a magazine of a woman wearing a knit dress, a cardigan and a scarf.  So cute and chic. I've tried to come up with a couple of "uniforms" for fall to keep myself focused and this is one of them.

I absolutely love this gray fabric I found at my local fabric store.  It is such a nice quality.  It was $16/yard which feels pricey when you're looking at the bolt but it's so much better to buy something high quality that wears well.  

My original intention was to make it with sleeves but at the last minute I left them off.  I'm going to see if I can get more wear out of a sleeveless top in a heavier fabric.  Maybe if I wear it with a heavy sweater, tights and boots I can wear it in the winter but also in the spring and fall with a lighter sweater.

This is my second Moneta with the Peter Pan collar (first one here). I thought maybe the previous material was to blame for the collar sticking up but I had the same issue with this material.  I've had a Bernina machine for a couple of year and would you believe that this is the first time I've used a decorative stitch? I used it to anchor the the collar to the dress. After I completed it I was sad I didn't think ahead and do some embroidery all over the collar.  Next time, I guess.

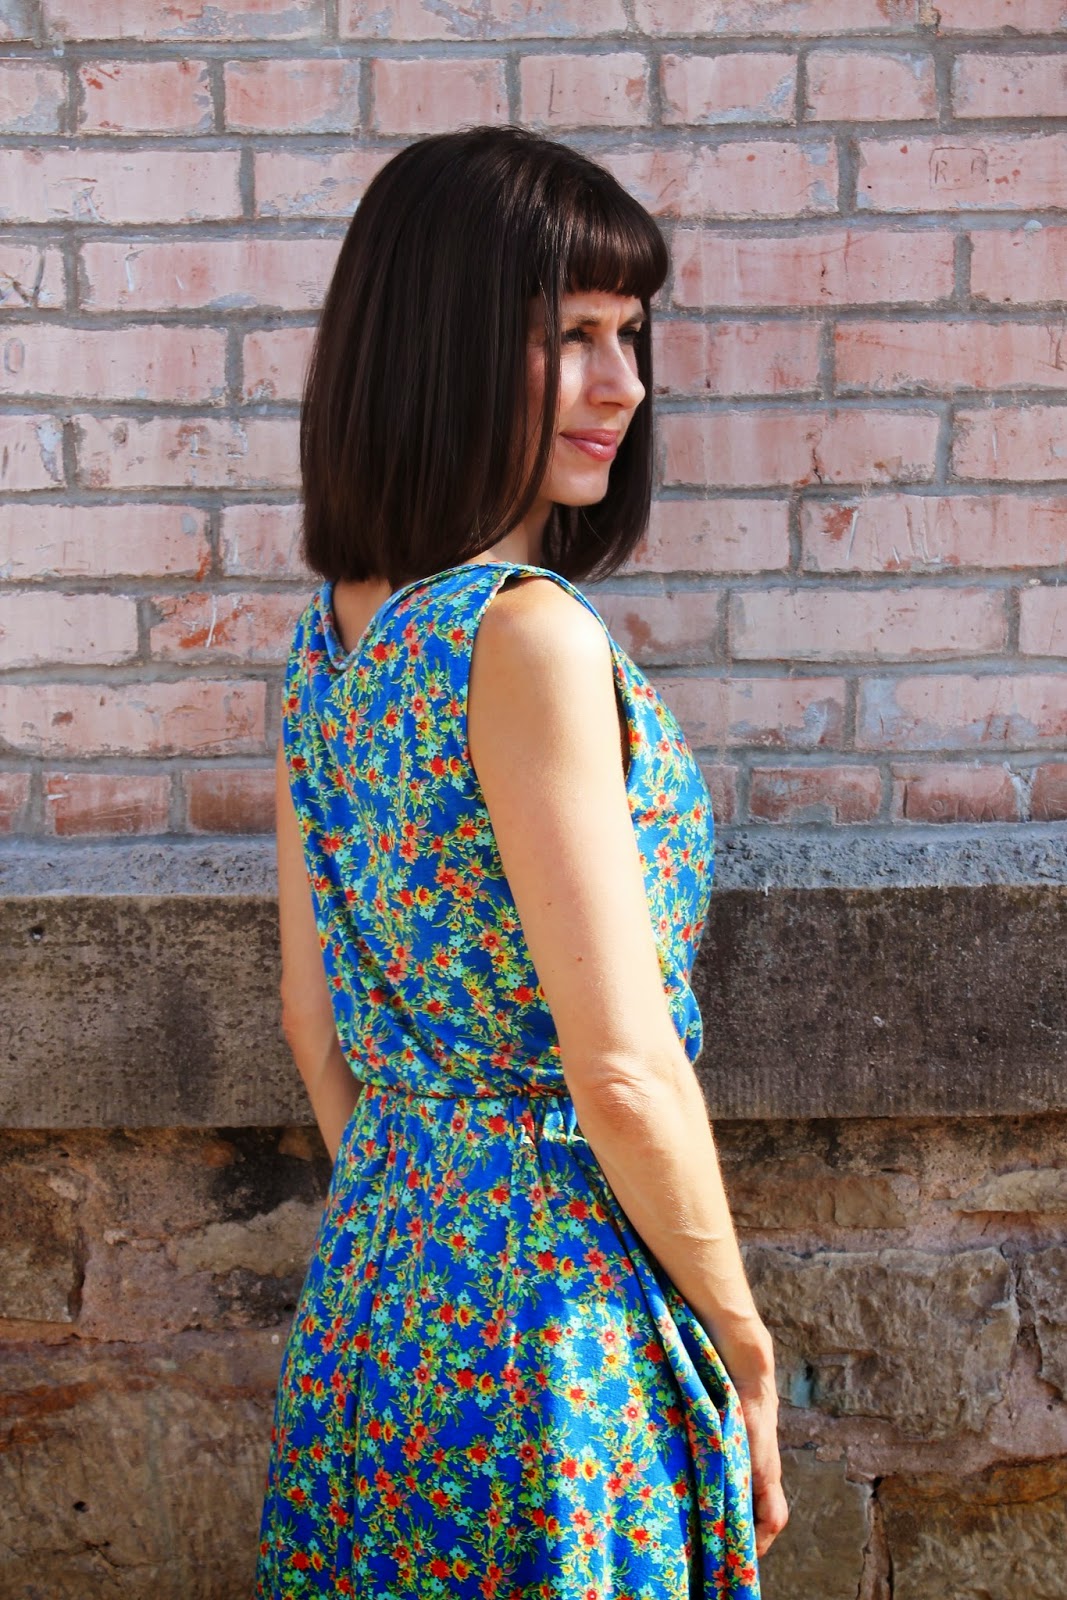
I only managed to get one decent picture of the second Moneta because my photographer/son was chomping at the bit to go out with his friends.  I had a few issues with this dress.  1) I know that I just said that I feel better when I buy higher quality fabrics.  I didn't follow my own advice on this one.  I ordered this online.  I was so in love with the idea of polka dots but the quality is just not great. It's thin and flimsy. 2)  I made the version that doesn't have a lined bodice.  Since I was going to use a twin needle around the neckline I decided to reinforce it with knit interfacing.  Disaster! The fabric stretched and curled so bad that I won't be wearing this one without a scarf.  3) I use the XS bodice graded out to a small at the waist.  I figured the XS sleeves would fit snugly around my biceps but they were very baggy.  I went back and used a much bigger seam allowance but I'll have to fix the pattern piece.

Tuesday, October 14, 2014

Blog Hop!

You may have noticed bloggers answering these questions recently as part of a blog hop.  I don't know who started it so I can't give proper credit!  I was nominated by the lovely Helen of Cut It Out, Stitch It Up. I have admired her work greatly ever since my first exposure to her, which was this amazing shirt.   Do you ever think about other people's makes long after you first see them?  Or is that just me?

On to the questions....

Why do I write?

I wanted to have a blog long before I got serious about sewing.  The only problem was that I had absolutely nothing interesting to say at that time.  Several years later I decided that it was time I learned to make garments, and some time later I started to blog.  I started it as a way to document my progress so I could look back and see how far I've come.  What I soon learned is that blogging is a great way to connect with other people who sew.  I don't know about anybody else but I know very few people in real life who sew.  If I included in daily conversation what I write about on the blog I just don't think most people would get it!

What am I working on? 

I am a Craftsy class hoarder but it takes me awhile to actually get around to listening to them.  I started One Pattern, Many Looks: Blouses and it's fantastic but unfortunately I am completely lacking inspiration so I've not made a blouse yet.  Over the weekend I decided I was going to bite the bullet and start the Jean-ius course.  I was gung-ho until I read the course materials list and realized I need silk organza.  I don't have any so I'll have to wait until it's delivered so I can start on those.  In the meantime, I'm making a cold weather Moneta.  Go figure.

How does my blog differ from others in its genre?

I don't think it does.  I'm happy to just continue sewing and sharing what I've made in my own simple way.  Don't look for me to write a book!

How does my writing process work?

As I'm sewing I try to be mindful of what I want to include in my posts, especially if I've strayed from the instructions or put a different twist on the garment.  I never write anything until I've completed the project.  I love it when people include lots of detail on variations so I try to return the favor.  I was in a pretty great flow this summer when my photographer (my teenage son) was out of school.  I could count on having my picture taken within 24 hours of completing my garment and then blogging soon thereafter.  Now I can't have pictures taken until the weekend.  It's hard to not wear what I've made right away!

Nomination:

A recent find for me is Charlotte over at The Creative Domestic.  I like her writing style and her choice in projects. She has a cute new skirt on the blog now so that's a bonus. And I'm always a sucker for a great blog name!


Sunday, October 5, 2014

Two Sewaholic Renfrews: Stripes and Chevrons


The Sewaholic Renfrew pattern is officially my go-to tshirt pattern. It's so easy to make and comes with all the sleeve variations and neckline variations that I want.  This is my first time sewing with stripes and chevrons.  I'll do stripes again but definitely not chevrons. 

It was easy to line up the stripes on the sides but the sleeves didn't work out so well.  I was stretching the sleeves and shirt to fit each other and that messed up the stripes.  I'm too lazy to tear out serger stitching and I'm thankfully not a perfectionist so I can handle it.  I'll get better as I go along.

I have an early version of this pattern and didn't realize that the instructions are wrong on the cowl neckline variation.  It says to sew the cowl with wrong sides together.  I did that and then looked at the online tutorial to make sure I was doing the rest of it right.  That's when she clarified that it's actually supposed to be sewn right sides together. 

 
It's not perfect but I anticipate wearing this top a lot this winter.  The material is a nice hefty weight and it looks cute with a jacket.
 
And then we have the chevron top. Grrrrrr.
 
 
I picked out this material last winter before I'd ever made a knit top.  I actually made this one before the stripes because I wanted to practice.  This was one of those projects where I knew it wasn't working but I also had no idea how to even begin to make it work.  After awhile I gave up matching the chevrons and just sewed it together matching the edges.  It's a disaster but guess what? I've worn it three times.  And twice people have said, "Cute top."  The material doesn't have much recovery.  In hindsight it wasn't a good choice for this pattern but with each knit project I learn more about what works and what doesn't.


Sunday, September 21, 2014

Deer & Doe Datura Blouse

 
This top marks a rare departure from Colette and Sewaholic patterns for me.  I really do need to branch out more because there is a lot of sewing goodness out there to choose from.  You'll recognize the fabric from a recent Sewaholic Hollyburn make.  I had quite a bit left over and I love it so much I couldn't resist making a top out of it.  The contrasting fabric is Cotton + Steel.  It's a quilting cotton but it's an exact match to the birds on the main fabric so I couldn't refuse.
 
 
The top goes together pretty easily.  The yoke is lined and I did think the method of sewing the shoulder seams felt a little odd.  Somehow when I arrived at the part of the instructions where I was supposed to stitch the neckline and armholes continuously I realized I had accidentally completed that in a previous step. I'm not sure what I did but it worked so we'll just go with it!
 
 
The pattern calls for 3 buttons along the back.  I had three chartreuse buttons picked out but they were too big and they felt a little obnoxious.  I decided to go with six buttons in two groupings instead when I found these in my stash.
 
 
You'll notice that the Xs are not straight on the yoke in the back.  I cut it on the fold without realizing it wasn't lining up straight and then I ran out of fabric.  When I went to the fabric store to purchase another 1/2 yard I found another Cotton + Steel print I thought I might like better.  When I brought it home it just didn't work as well.  I made the second my lining fabric instead of continuously purchasing 1/2 yards until I got it right.  Sometimes it's OK to let go.  Along the way in my sewing career I've apparently decided that if the mistake is in the back it's OK because I can't see it.  Works, right?
 
 I'm working on a Craftsy class right now for blouses.  I've got the fabric but I'm lacking the inspiration.  It's got to be around here somewhere!


Friday, August 1, 2014

Colette Myrtle #2


This is my last make for the summer! I had to squeeze in one last Myrtle before my vacation because when I come back I'm moving on to fall sewing.  It was easy to pull off because you can make this dress in a few hours.

I wanted to make another version of this dress because the ever-helpful Nicole from Nicole At Home posted a tutorial on how to reduce the cowl neckline.  You might recall that my previous Myrtle had a cowl neckline that dipped almost to my belly button (only a slight exaggeration.)  Not attractive without a cami! The tutorial I followed is full of pictures and easy-to-follow descriptions.  I think I changed my pattern in just a few minutes.  Super easy.  And effective!  If you haven't made a Myrtle yet and you are less than a C cup you should consider this tutorial before you cut into your fabric.

First Myrtle without the reduced cowl:

 
This Myrtle with the cowl reduction:


Oh so much better.

This fabric is also from the sale bin at Hancocks.  It's not as drapey as my previous Myrtle.  I'll be on the hunt next year for really drapey fabric to go with my new altered neckline.

The back bodice is also a little roomy which is nice. 

 
This pattern stays in my favorites pile!


Thursday, July 31, 2014

Sewaholic Hollyburn #2


Summer sewing is drawing to a close for me.  I don't know exactly what happened but I woke up one day and decided I was more in the mood to sew a bomber jacket or button down shirt than a dress.  I'm squeezing in one more dress after this and then it's on to fall and winter sewing for me.

I originally used this print for a Sewaholic Saltspring dress.  Everybody else seems to love that pattern but when I finished it I was underwhelmed and have never worn it.  I think it was sewer error because it looks so great on other people.  I love this rayon challis fabric by Joel Dewberry so much that I ordered more and made a Sewaholic Hollyburn out of it instead.  I've made this skirt once before and every time I wear it I wonder why I don't have another. 

I like the tab detail with the button.

 
And I also like the style of the pockets.
 
 
I never used to like high-waisted styles but I've watched enough episodes of Call The Midwife on BBC that I think I need to be wearing them all the time. 
 
Earlier in the summer, my photographer (my 15 year old son) and I put more effort into staging shots.  Now we just drive around town, find a wall, and snap a few pictures in about 3 minutes. This time even the weeds and random wires didn't stop us.
 
 
I think we'll get our mojo back when fall sewing comes around.


Tuesday, July 22, 2014

Colette Myrtle

 
This is the newest Colette Patterns release called Myrtle.  I bought it before it was released during a promotion.  I wish they would put me on a list of people who buy every one of their patterns so they could just mail it to me without asking if I want it.  Of course I do.
 
I've decided to call this a wearable muslin so I'll feel better about the extremely poor workmanship.  It's an incredibly easy pattern to follow but I decided to make it more challenging for myself by making some really goofy mistakes.  Also, after an incredibly mild summer in the Midwest, it decided to be 100 degrees today and I'm pouty about it so there are going to be two pictures of me in this dress.  And both of them include not-so-great-looking hair. 
 
There are 5 pattern pieces to this dress: Bodice front, bodice back, skirt front, skirt back and pocket.  The back bodice is finished with a twin needle (unless you have an overlocker).  I usually don't have an issue with the twin needle.  I bought this fabric on the clearance rack and it is super flimsy.  The twin needle ate it up but somehow I made it through.  I just hope no one ever inspects it closely. 
 
There are some nifty little sewing tricks in this pattern that I liked.  The front bodice is a very long piece that you fold in half to make the cowl neck.  Then you sandwich the back bodice in between the layers and stitch the shoulder and side seams.  Super easy! Unless, of course, you get the back bodice twisted around like me and have to pick out the serged seam.
 
To insert the elastic in the waistband, you sew two rows of stitching at the waistband to form a flap and then fold it over the elastic and sew to enclose it.  Easy!
 
 
The picture in the instructions clearly shows that you are supposed to pull the bodice out of the skirt to enclose the elastic.  I missed that part and sewed it while the bodice was tucked inside the skirt.  I'm almost positive that it took me longer to unpick the zigzag stitch around the waistband than it did to sew the entire dress.  It took that long. 
 
The part I'm going to have to change is the neckline.  I made an XS for the top and graded out to a S for the waist and skirt.  I'm going to take out a rather large wedge from the front bodice pattern piece because it dips so low on me that it's obscene without a cami underneath.  This probably isn't a problem for a bustier gal but busty I am not. 


I could probably live in Myrtles and Monetas all summer long.