Saturday, July 27, 2013

My First Copycat Dress!


I am so excited about this dress!  I've always ripped out pictures from magazines and kept them on a bulletin board in my sewing room.  I know this sounds silly, but it never occurred to me to locate patterns to recreate those looks until Lori from Girls In The Garden posted about recreating an outfit from Pinterest.  Enter Colette's newest pattern Hawthorn.  I have had this picture on my board for probably 1-2 years:
 

Please excuse the cell phone photo but our scanner suddenly died tonight. You can't tell but it's navy gingham.  I cut off some of the item description, but the tag on the dress says "Milly" and it's listed as being for sale at Bergdorf Goodman for $295.  When I saw Hawthorn I knew just what I was going to do.  Actually, I saw an article online prior to it's release saying that the next pattern was going to be a shirtdress, so I purchased the fabric before the pattern was even released.  And it got even better when the pattern looked almost exactly like the dress in the magazine!

I attempted to slash and spread to add extra room in the waistline as well as doing a SBA.  That was a disaster that I won't go into.  After looking through a fitting book I decided I didn't need such major adjustments, so I just graded the pattern out at the waistline and used a bigger seam allowance through the bust.  I'm happy with the fit.  It's usually extremely hot here in the summer so I didn't want a skin tight dress.


The fabric was very sheer so I underlined the bodice with something I had in my stash.  I turned and stitched the sideseams and I'm happy with that result.


I always want my skirts to be lined but I've freaked out about doing it (or anything for that matter) if it's not in the instructions.  For some reason on this dress I knew just how I wanted to do it.  I bought this lining from Gertie's shop on Etsy and it worked well.  I cut the front lining pieces just to the line that indicates where to fold the facing back on the skirt front.  Then after stitching both the main skirt and the lining to the bodice I caught the lining in the edgestitching on that later step. It wasn't hard and I was happy I could figure out how to do it on my own without handholding. 

The skirt and the lining are both finished with French seams.  Unfortunately I inserted the lining with the seams facing out.  Nobody notices it but me so I'm OK with it.


BIG news:  I actually used my serger to finish the waist seam.  I discovered that I didn't have one of the needles threaded and neither needle thread was through the loop above the needles.  No wonder it wasn't working.  I fixed both things and it serged with no problem.


I enjoyed every step of making this dress.  This will not be my last Hawthorn.  I absolutely love Lladybird's dress in this post and I would love to do something like that.  I feel pretty proud of myself that I was able to recreate something that I've been looking at for well over a year. The pricetag on the dress in the magazine was $295.  My dress cost no more than $50 including fabric, thread and buttons.  I also participated in my first sewalong so that's good news too.  I'm slowly but surely getting better!


Sunday, June 9, 2013

Sewaholic Hollyburn skirt

 
This Sewaholic Hollyburn skirt is my favorite of the things I've made so far.  It was my first time sewing with rayon challis and I liked it so much I'll use it again. 

I used a stabilizer to keep the fabric from shifting during the sewing process and tried not to handle it too much. 

I also chose to underline (again) the skirt.  I need to buy a book on how to add linings.  If the pattern doesn't call for a lining then I don't know how to add one myself. 


Once again I had problems with picking the right size.  This is the first Sewaholic pattern I've sewn.  Based on my waist measurement I chose a 10 and tapered down to a 4 in the hips for my muslin.  The waist was huge so I sewed a straight 6 for my final product.  I could have tapered down in the hips since there is a lot of volume in the size 6 for me.  However, during the muslin phase I discovered that I had graded down right in the middle of the pocket and that complicated things.  Also, I think grading that far between sizes is probably too much.  I should have done another muslin but I was too lazy. 

I like the tabs and pockets!


This skirt was super easy to make. I used the serger to finish the seams.  It was my best job so far but still not as good as I'd like.  I just noticed there is a Crafty class on serging which I desperately need to sign up for.

I did a catchstich on the hem.  It's a big hem to sew by hand but I just like it so much better that way.

Tuesday, May 28, 2013

Liberty of London Sorbetto Tank Top


There's not much to say about the Sorbetto pattern since it's so easy.  I've wanted to purchase a Liberty of London print for awhile and I thought this would be a good starting point since the pattern only uses 1.5 yards.  Needless to say the fabric is great!

I made another Sorbetto last year.  I lengthened this one by 1 inch since I have a long torso.  When I tried on the finished product I realized I should have done a swayback adjustment.  You can't tell in this picture but there are a few horizontal wrinkles in the lower back area. 

Thursday, May 2, 2013

Twice As Nice Easter Suits: Simplicity 1483

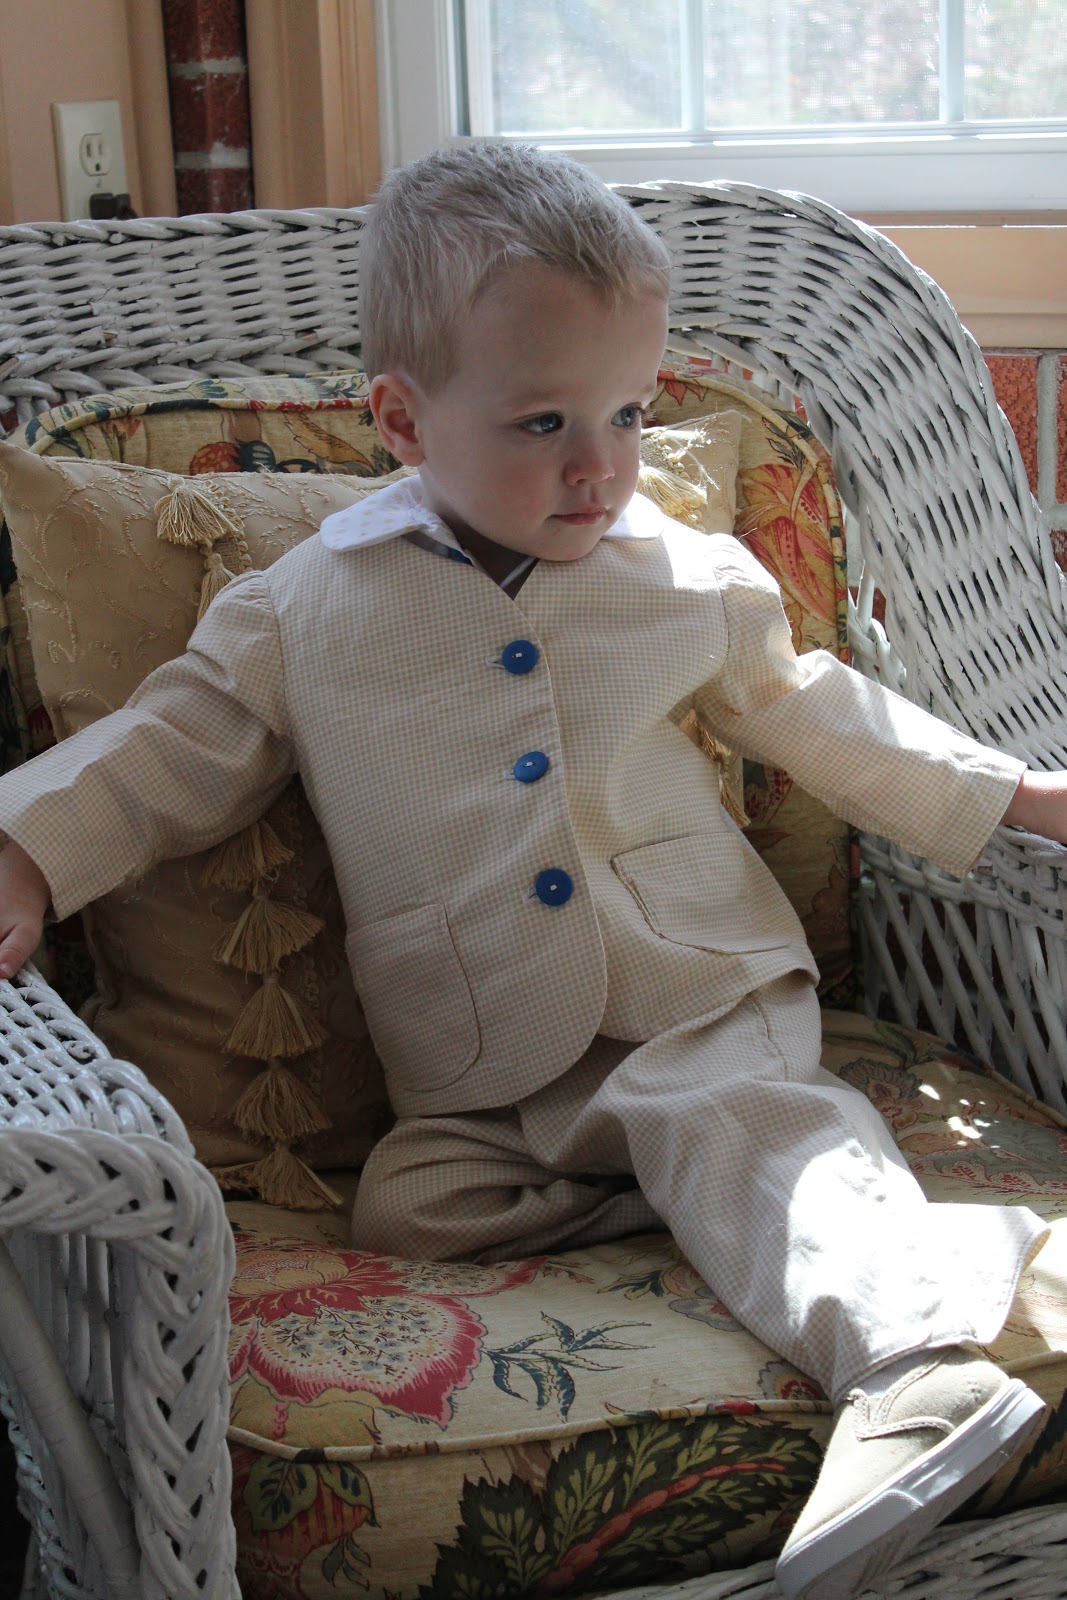
This post is out of order but I wanted to include it to chart my progress.  I made Easter suits for the twins and really liked how they turned out. 


Too bad they wouldn't cooperate and take a picture together unless they were eating chocolate.


I ordere Simplicity 1483 (from 1955) on Etsy and found it to be a really easy pattern to work with. This was the first time I've used a vintage pattern.  Actually, this is the first time I've used a commercial pattern.  I'm not skilled enough to follow instructions on a commercial pattern so I'm sticking with Colette Patterns until I improve.   

I used a gingham print Michael Miller fabric for the overalls and jackets, and a polka dot Michael Miller fabric for the shirts. 

On The Great British Sewing Bee, Sandra made a comment about sewing for her three girls.  I'm paraphrasing, but she said the first outfit is exciting to make, the second one is OK, and by the third one you're just trying to get through it.  I completely relate to that comment.  I made the first set of overalls and was really happy with the way they turned out.  Then I realized I had to make a second pair exactly like it and felt a little defeated.  Making 6 items of clothing in a month is harder than I anticipated, even if they are for kids!

I started with the overalls.  I decided to try out french seams to see what they were like.  I enjoyed making them and thought they were a smart finish.  I also decided to underline them and I used Gertie's New Book For Better Sewing as my reference. I've never really understood underlining vs. lining but it became very clear on this project that the pants were going to need some extra support. I love the tabs on the sides that fasten on the back with buttons.  I also love the two buttons on the back.  No zippers to insert! 


At first I thought I could skip the carrier that they suggested putting on the back of one of the straps, but that resulted in less-than-flattering gaping so I had to go back and put it on.   I also didn't want to spend time pulling the straps all the way through after sewing them all the way down one side.  Sewing right sides together, I left an 6-8 inch gap in the middle.  I turned it right side out easily that way, pressed the seam allowance in, and then edgestiched. I really like the high waist style of the overalls. Maybe I'll make them again in another material?

My next items were the shirts.  They were fairly straight forward.  I realized afterwards that I didn't do french seams.  I have no idea why I didn't, but I wish I would have.  The collar was very easy to put on even though I was nervous about it.  The sleeves gave me a little trouble but I feel like they turned out well. 


The final items were the jackets.  There were no collars so that was a plus, but I did have to hand-stitch the hem.  I have found that I enjoy the look of handstitching even though it takes forever. 


One thing I struggled with was time management.  Or maybe I should say project management. My initial plan was to finish each garment up to the point that the buttons were put on so that I could put them on all at once.  A week before Easter I had 6 semi-finished garments and it started to drive me crazy.  I started focusing on completing a piece before I moved on to the next one and that made me feel more productive.  I was sewing a hem on Saturday afternoon, though!

Another bonus was my new Bernina button foot.  I had to sew on 26 buttons total.  After 8, I decided to buy the button foot.  And I'm glad I did! 

Overall, I'm very happy with this project.  I also discovered with these outfits that I think it's most fun to sew when there is a deadline of some sort.  It really makes you focus.

Skills I worked on:
1. French seams
2. Buttonholes
3. Hand-sewing
4. Project maintenance!


Saturday, April 27, 2013

Who's Afraid of the Big, Bold Print?: Another Colette Laurel


Who's afraid of a big, bold print?  I am.  I wanted to sew up a Laurel without sleeves for summer.  I chose a new Amy Butler print in sateen and paired it with a quilting cotton polka dot for the binding and pockets.  As usual, I was very excited when the package arrived in the mail.  Then I opened it up and realized the print was very big, which meant I would have to do pattern matching. A new experience for me!  I wish I would have chosen to place the front on the fold so that the big circles were running down the center instead of two on the sides.  I don't dislike it so much that I won't wear it, though. 


My main concern was getting the pattern on the front piece to match up with the pattern on the back pieces.  I forgot to take into account the bust darts, so the line up was thrown off.  I was so focused on getting the front and back prints to match up that it didn't occur to me to be concerned with where I was placing the back pieces.  I would move them to a different location on the fabric if I had it to do over again because the print is off center.  Also, the invisible zipper used up 5/8 inch on each side of the fabric, so the print doesn't meet up in the center.  I don't know how to fix that so I'll have to read up on it.  Invisible zipper:


This was my first foray into pattern matching.  Now I know what to look out for in the future. 

I knew that I wanted to use the polka dot fabric for the pocket flap.  When I put the main fabric pockets on the front of the dress, I realized you weren't even going to know they were there because the print is so busy.  Then it was going to look like I sewed two flaps on my dress for no reason.  I cut out two polka dot pockets but didn't like the way it looked, so I decided to sew polka dot bias tape around the pocket edge as well.  I should have lined up the polka dots on the bias tape in a straight line.  I didn't notice they were off until I had already sewn the pockets onto the dress, and I was running out of polka dot fabric for the armhole and neckline binding.  However, I love my little pockets.  And again, I'll know better next time.


I also love the way the polka dots look against the bold main fabric. I love a polka dot. I tried sewing the binding on completely by machine but decided I didn't like it as much as slipstitching the back.  I ripped it off and did it the way I like it.  It takes longer but I like it better. 


Techniques I practiced:
1. Pattern matching (ouch)
2. Patch pockets
3. Binding tape.  I have struggled in the past sewing binding tape together but, as usual, the instructions on the Laurel E-Book helped me out.
4. Invisible zippers
5. Blind hemming.  Takes me forever!
6. Slipstiching

What to work on in the future:
1. Pattern matching!
2. General attention to detail (like making sure the polka dots were lined up).

Overall I'm happy!

Saturday, April 20, 2013

"There's A First Time For Everything Dress": Colette Laurel in Teal Corduroy


This dress marks a "first" for several things:

1. My first blog post!
2. The first time I made something to enter into a competition.
3. The first time I used my new serger on a garment (which was a disaster but I'm still counting it)
4. The first time I inserted a sleeve in under an hour with no tucks or crying.

For starters, taking pictures of a garment for a blog post is way harder than I anticipated it would be. I didn't know where to go to take one, I don't have a tripod, and I don't know much about taking pictures (or even using my camera).  I decided to go to the large field at the end of our street using my husband as the camera man. The pictures were taken while our twins were crying in their stroller saying, "OUT!" and I was telling my husband, "Could you PLEASE get a closer shot?!"  Someone we know drove by and chatted for a few minutes.  Somehow the subject of us standing in a field taking pictures while our kids were crying never came up.

I've been learning to sew clothing since late 2011.  I've always wanted to participate in a sew-a-long but never got around to doing it.  When Colette Patterns released Laurel and announced the contest, I decided I was going to enter no matter what I ended up with.  For practice I used teal corduroy that I had sitting on my shelf.  The back of the envelope doesn't suggest corduroy but I think it turned out OK. I will wear it in the fall, or next week if our weather doesn't warm up!


I am still working very hard at picking the right size to sew. I usually fail with the first muslin. I've made the Colette Sorbetto before so I knew I wanted a size 2 in the bust. My initial muslin was sewn with a size 2 in the bust graded to a size 6 under the bust. I tried it on and wondered what I was thinking because it was way too big.  The dress I ended up with is a size 2 that I graded down to a 0 a few inches under the bust.  I do NOT buy size 0 clothing at stores, but when I had all the seams sewn and tried it on it looked too baggy in the hips. I think that might be because corduroy doesn't drape very well. Starting under the bust dart, I sewed 1/2 inch inside the original seam all the way down.  I don't know if that's how you're supposed to do it but it worked out OK!  I added a few inches to the length of my pattern piece but it was still very short.  I ended up doing a simple hem instead of a 2 inch blind hem because I didn't feel I could spare the extra 2 inches at the bottom.  What can I say?  I don't like short skirts. 

I used Colette Patterns video on inserting an invisible zipper and I think the zipper turned out well.  I love that video!  "Flip once, flip twice' really made things easier for me.  It looks like the tops of the collar don't line up in this picture but in real life they do. Too bad because I'm not taking another picture!


I didn't take pictures of the sleeves.  I feel slightly self conscious about them even though the whole process went well for me.  Apparently I don't know how to work a steam iron so it looks like there are tucks in them but there aren't!  I completed a Colette Anise jacket and almost ended up with a vest because the sleeves were SO challenging for me.  This time I followed the advice in Fit For Real People and sewed the bottom of the sleeve separately prior to gathering the top of it.  I also used 3 rows of basting stiches instead of the two I normally do (even though I know you're supposed to use 3). 

As for the serger:  I want to love it but right now I just can't.  Threading it is like rocket science.  I'm not posting pictures of what the serged seams look like.  I just don't have healthy enough self esteem. Let's just say they don't look like any serged seams I've ever seen!  Back to the shop for a second class for me!